This week's fly is one that could be fairly generic or fairly specialized depending on what you are really trying to get out of it. With this one, I decided to use one of the foam dremel bug bodies I have created and make a popper that resembles a frog.
Let me know what you think.
(Click Images for a larger version.)
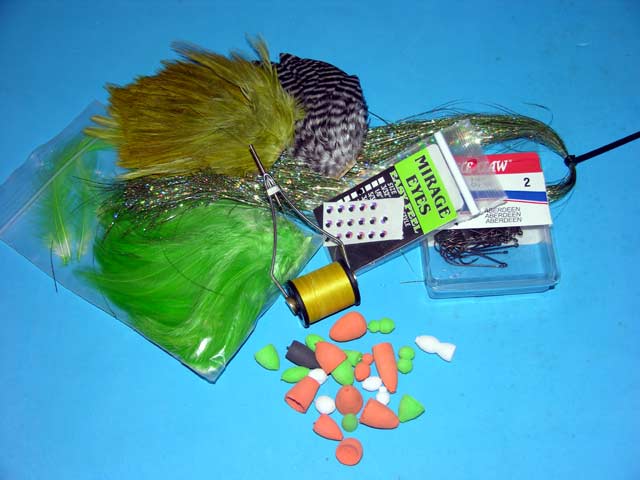
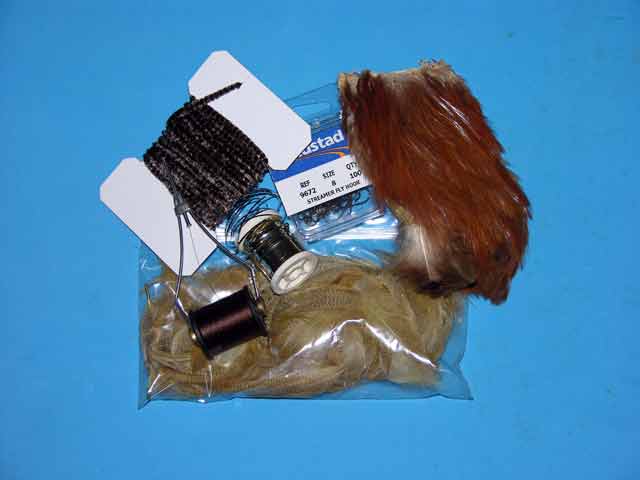
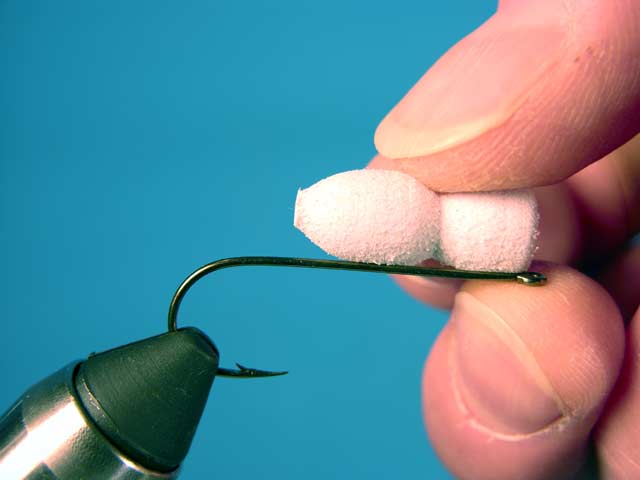
The first step is to gather the materials required for the popper fly, which are pictured above and as follows:
- Hook: stinger or aberdeen hook
- Thread: yellow or to match body
- Tail: soft feather tips
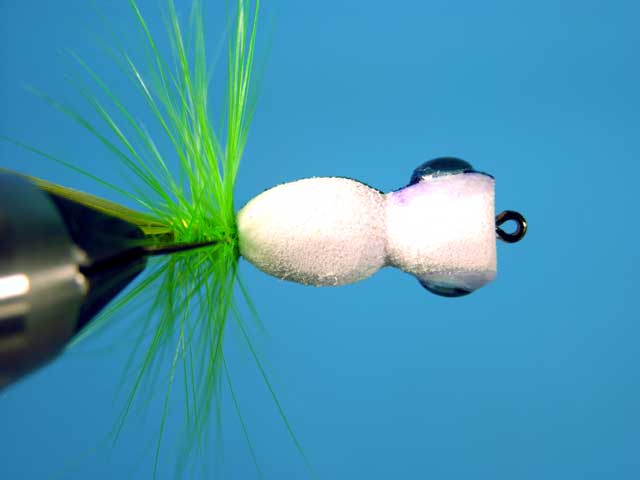
- Body: shaped foam
- Hackle: to match body / tail
You may have noticed that there are many popper / slider bodies in the picture. I make a few with my Dremel tool each time I am using the grill.
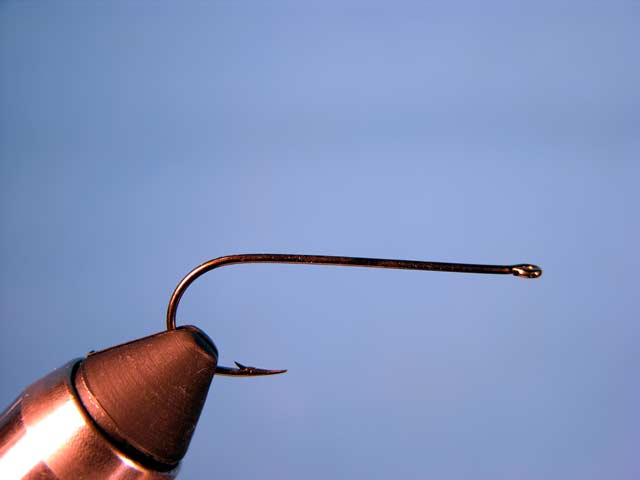
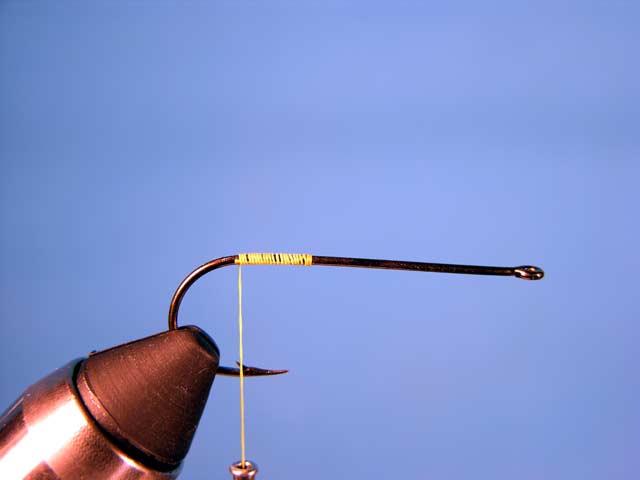
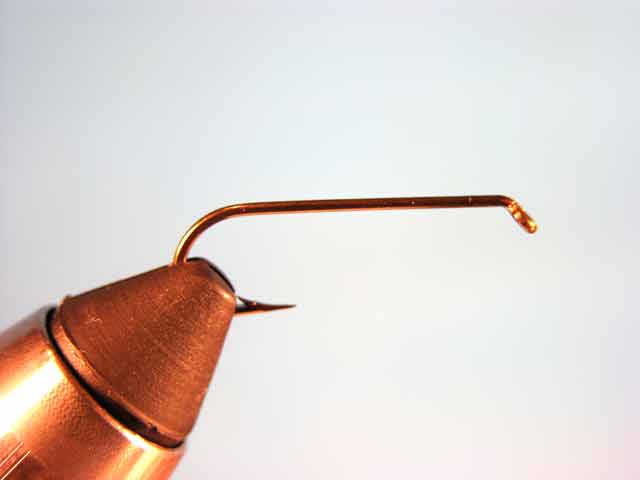
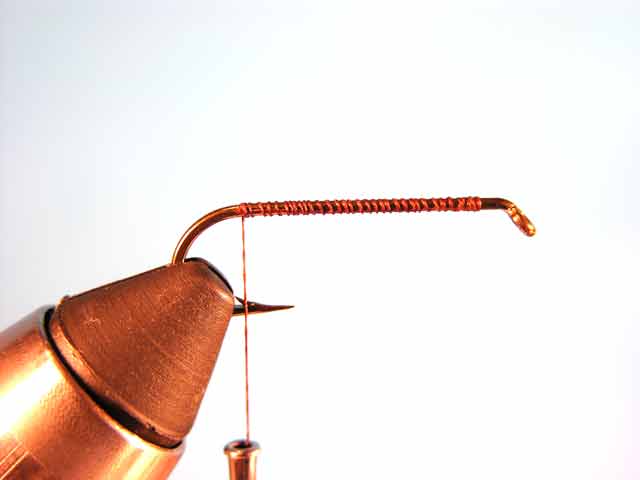
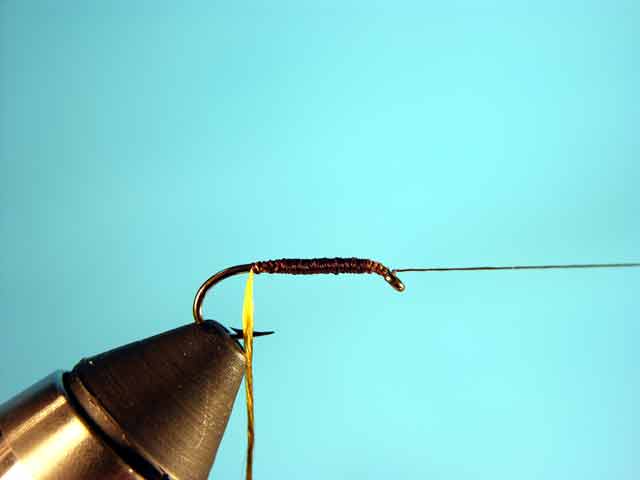
After gathering your materials you will need to mount the hook to be used in the vise and get the tying thread started on the hook. When getting ready to start the thread, I have found that the best place to start is right behind where the popper body will end, so I measure where to get it started.
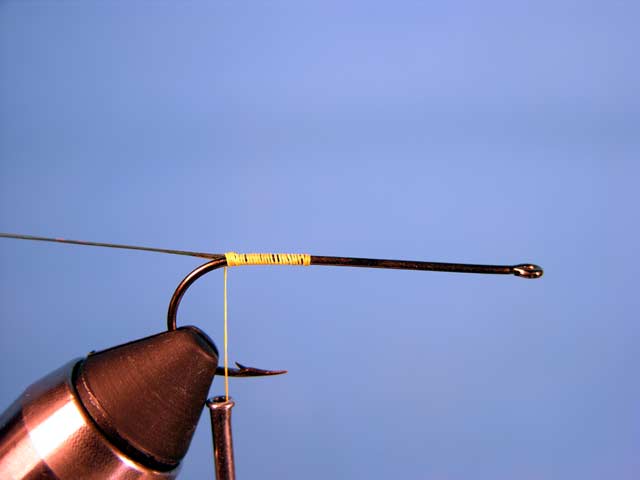
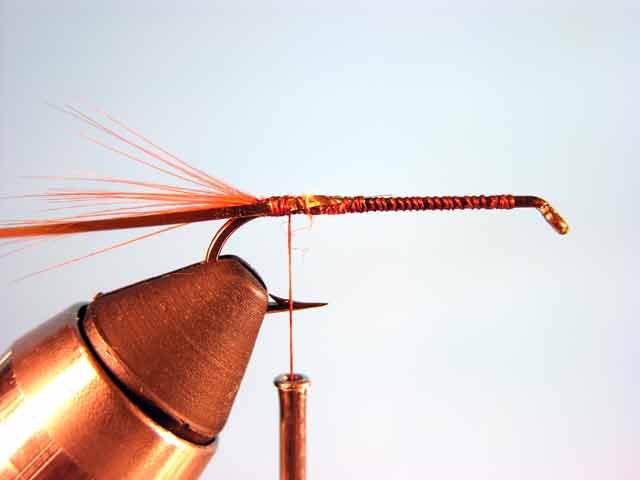
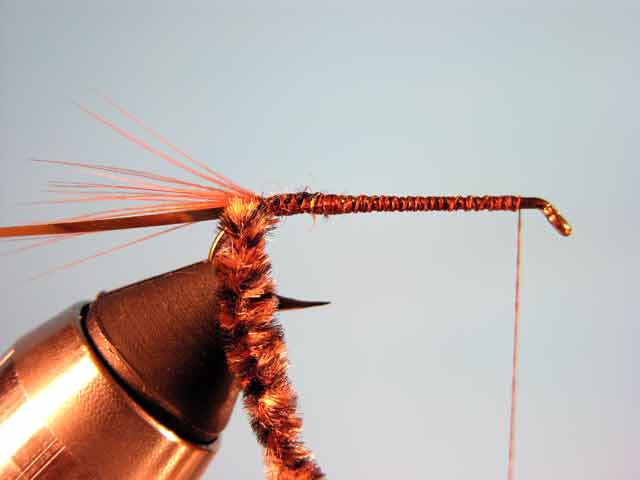
There is a lot of flexibility when choosing the tailing materials for a popper. Pretty much it should represent, in some way, whatever the popper is supposed to be. In this case I am starting with a few strands of flash material.

I next chose to tie in a pair of grizzly hackle tips. I am showing here that I will be tying them in with the curved sides pointed out to represent frogs legs.

I tied them in, one on each side of the hook right at the bend. You can see the flash better in this view.
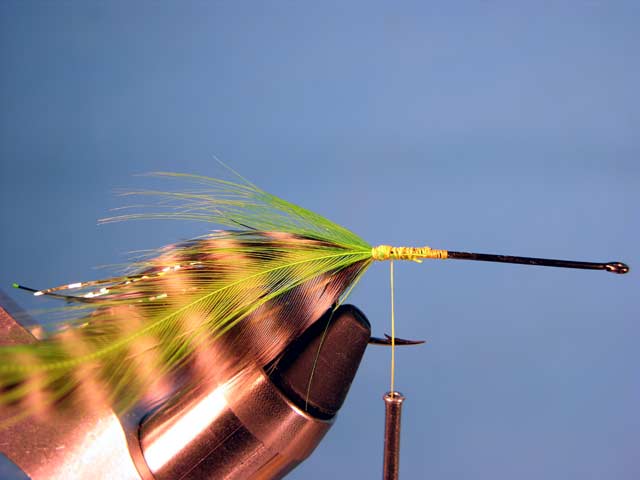
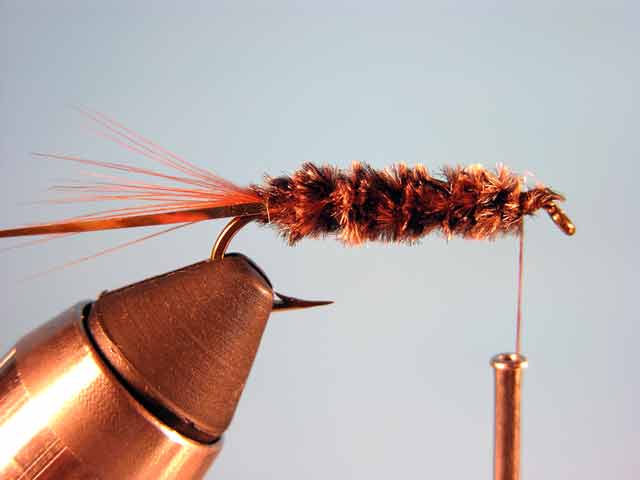
I then tied in a bright green feather on each side. These were brighter than I wanted so I only used one on each side.
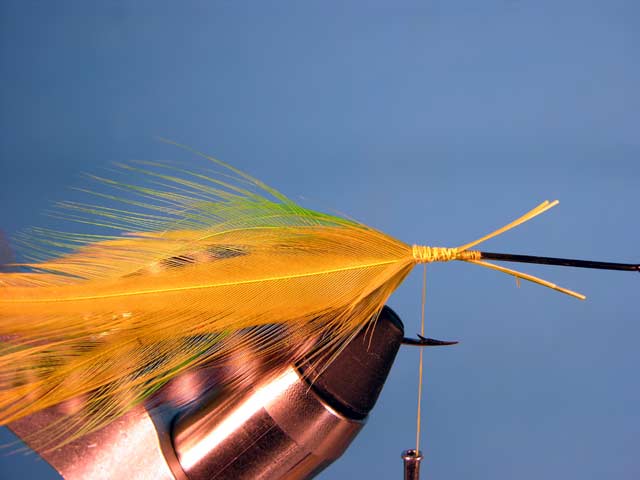
Then I tied in two feathers per side of more of a olive green to tone down the bright green and the grizzly.
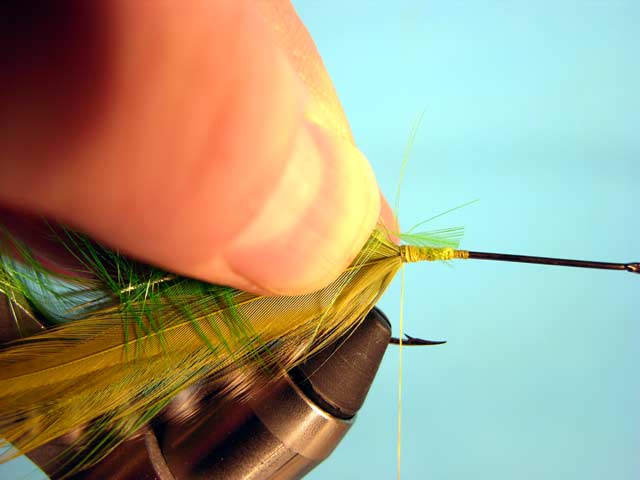
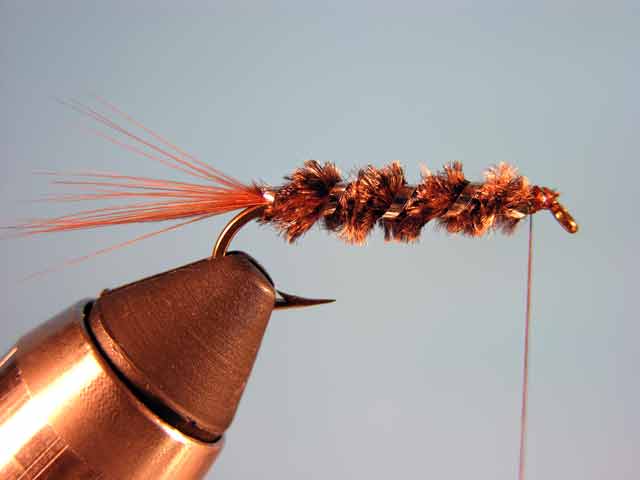
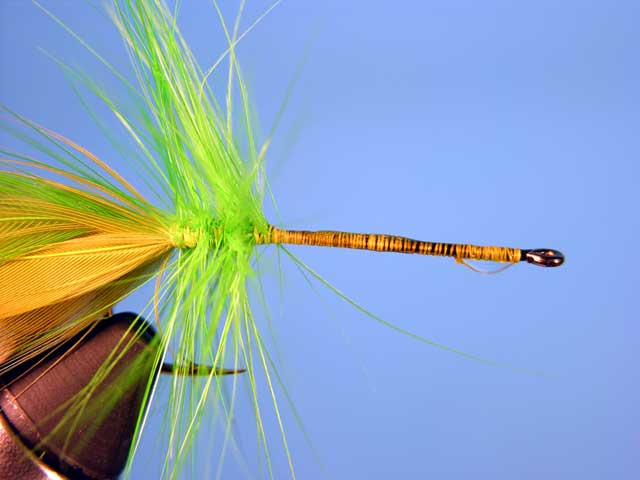
I then tied in one of the bright green feathers for the hackle to be palmered over the tie-down area for the tail materials. I tied it in by the tip after stroking the feather barbs backwards and trimming the tip.

Palmer the hackle forward and tie it off in front of the teil tie-down area.
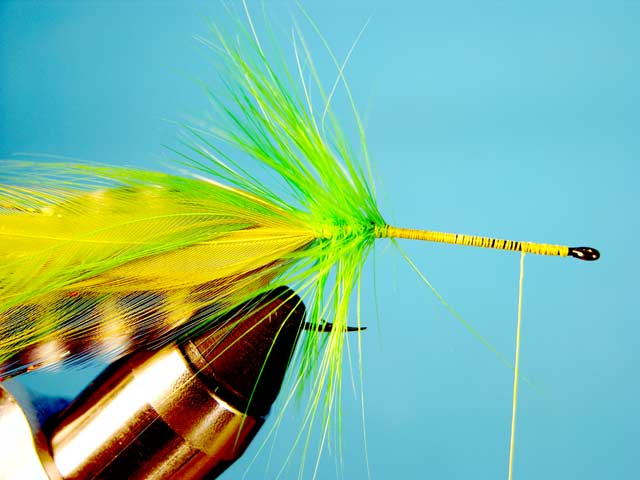
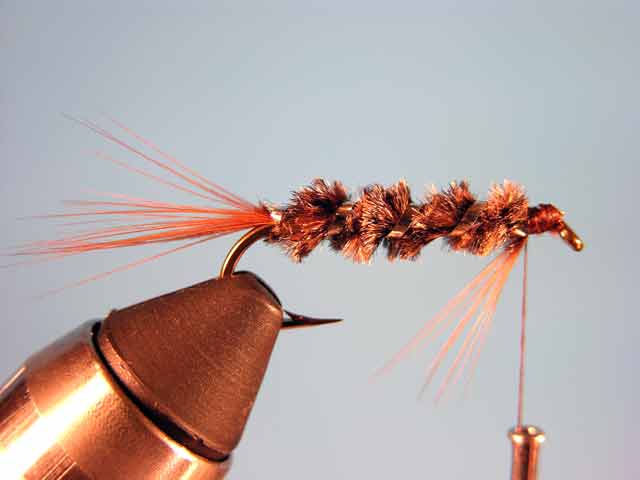
Wrap a layer of thread up the hook shank and tie off the thread. I use a couple fo half hitches, but a whip finish works also.
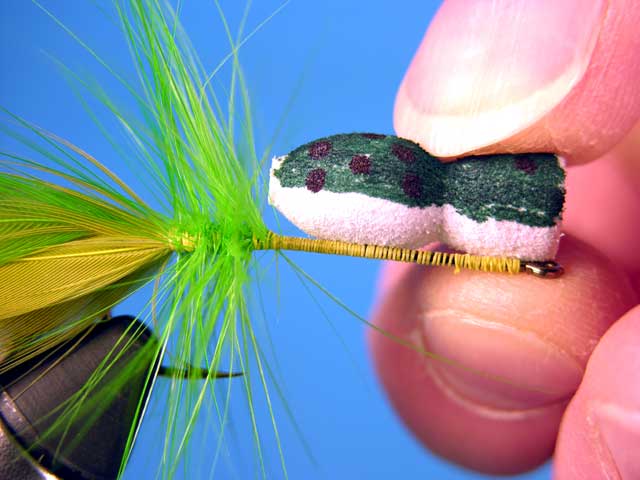
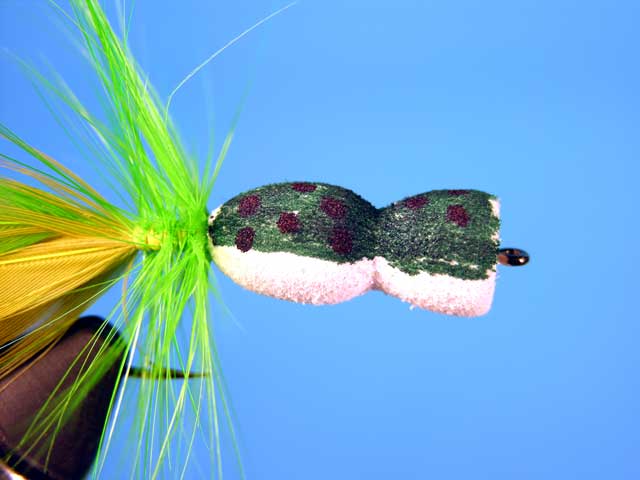
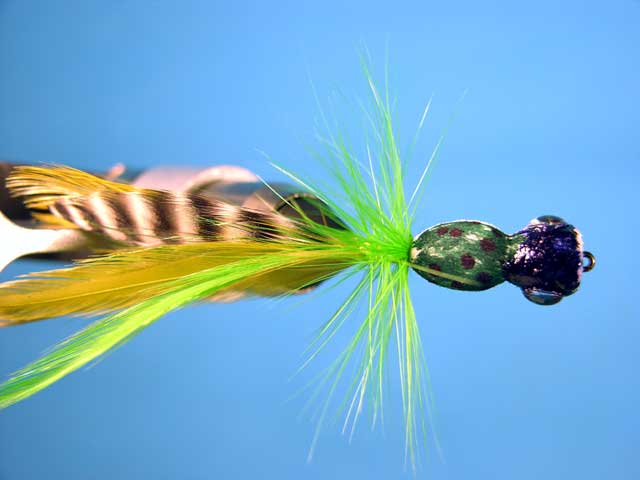
I then colored the body to resemble a frog. In this case a leopard frog. (No, I am definitely no artist!)
Then coat the hook where the body goes with some super glue or head cement or whatever you want to use.
Position the body on the hook. You have to work somewhat quickly as super glue dries rather quickly.
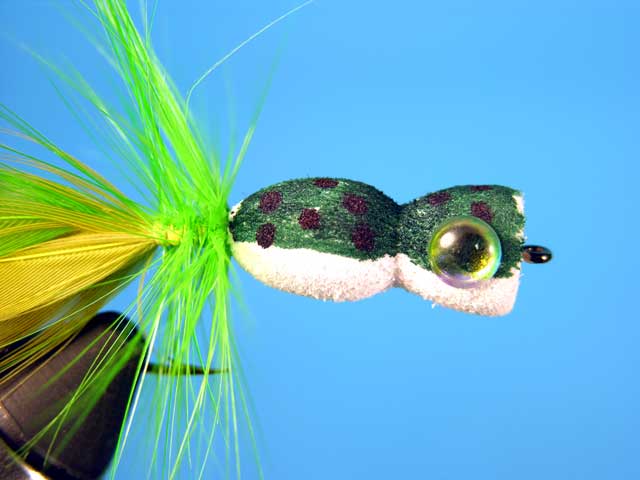
Add some stick on eyes. I also like to coat them with some glue to make sure they stick really well.
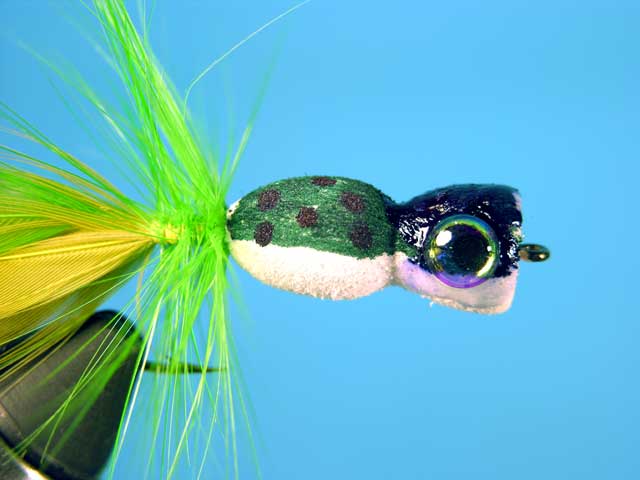
Completed Fly.
Top view of Fly.
Bottom view of Fly.
Happy fishing!
Lime Trude