Sunday, February 10, 2008

Week 6 -- Seaducer


Last week I was able to attend a 'tie in' with some of the other people in the area. It was quite interesting to see some other people tie. We were able to get Ward Bean from www.warmwaterflytyer.com to come and show us some of his flies. One of the flies that he tied was the Beaner's Baitfish, and it looks like a great pattern. Since it is his pattern, I will not tie it, but it is somewhat similar to the Seaducer. I have liked the Seaducer, so I chose it for this week. Hope you like it. The Bass seem to.


Let me know what you think.


(Click Images for a larger version.)
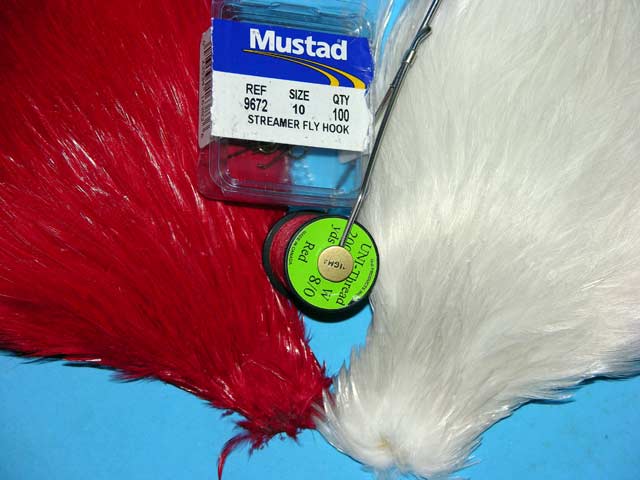


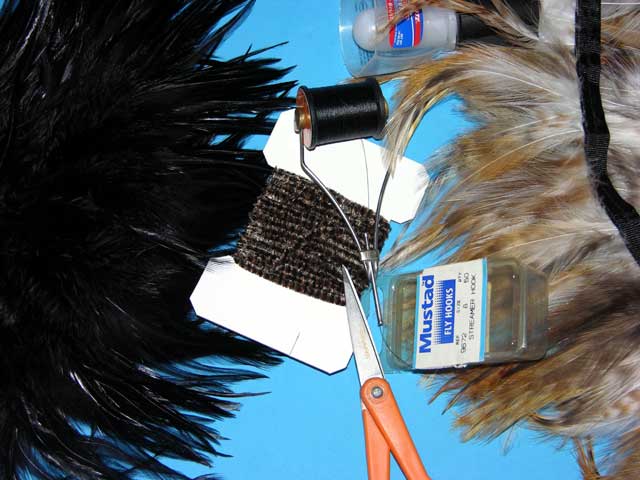
The first step is to gather the materials required for the Seaducer, which are pictured above and as follows:

  • Hook:   Streamer Fly Hook.

  • Thread: Red

  • Tail: White Hen Hackle

  • Body:   White Hen Hackle

  • Front Hackle: Red Hen Hackle


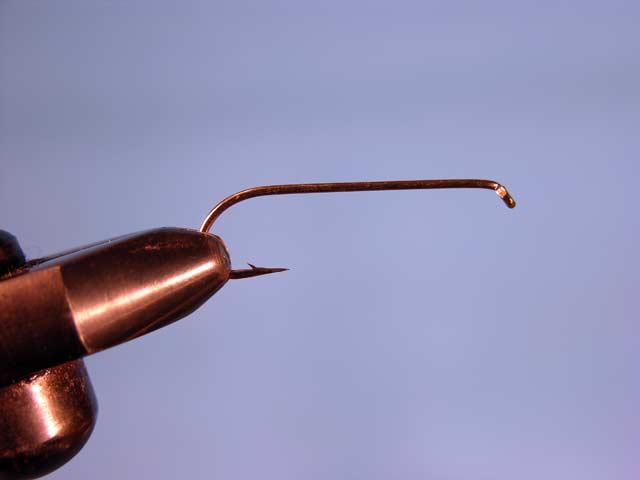
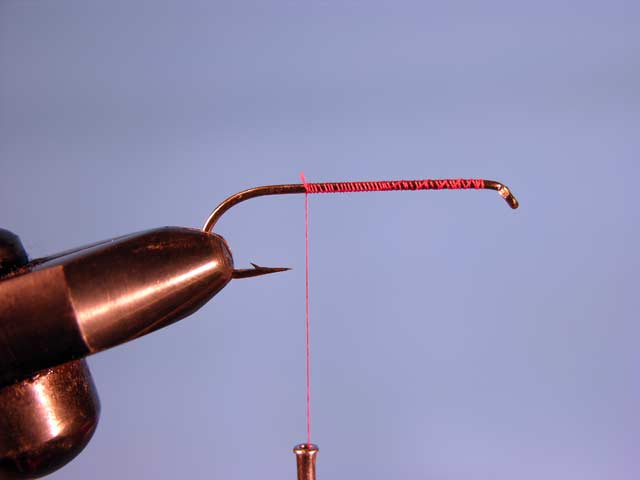
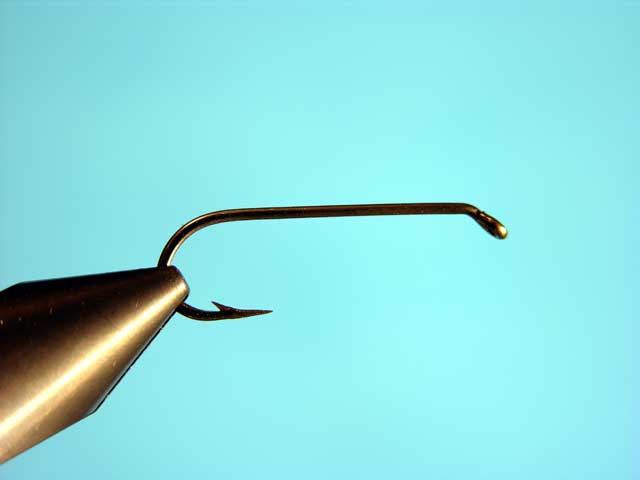
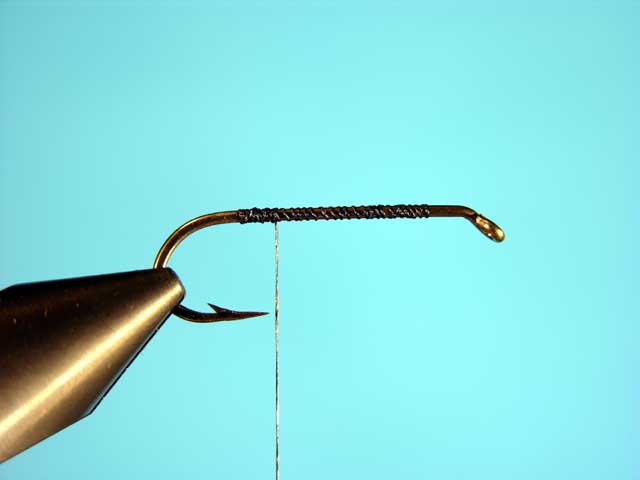
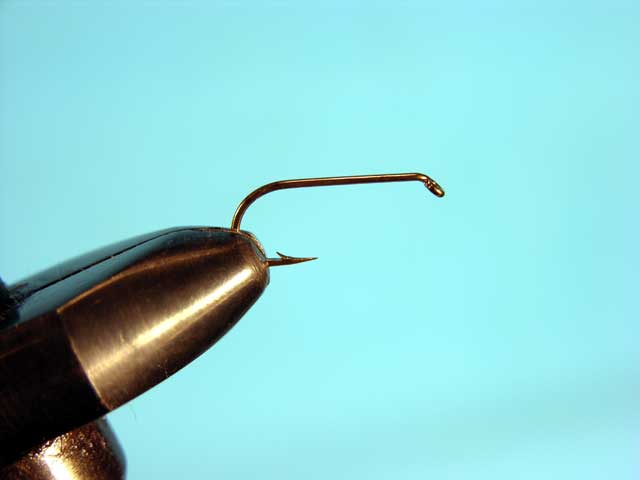
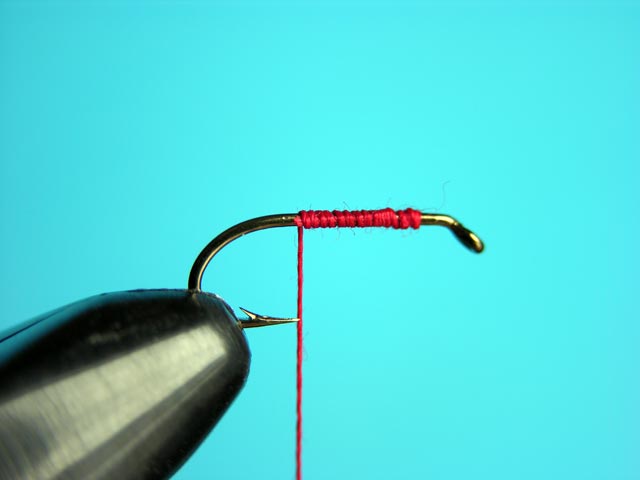
After gathering your materials you will need to mount the hook to be used in the vise and get the tying thread started on the hook.
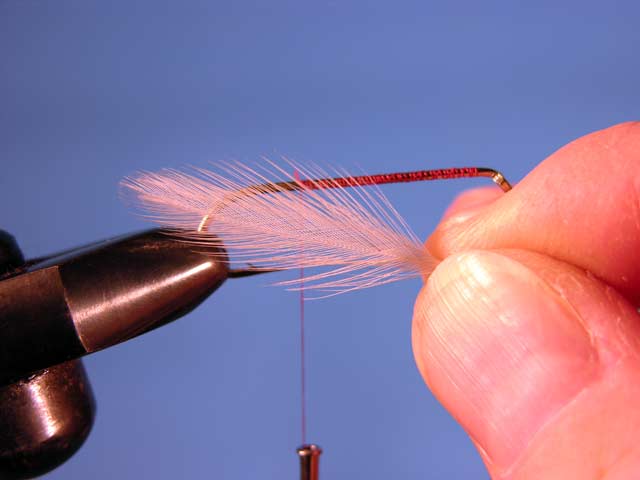


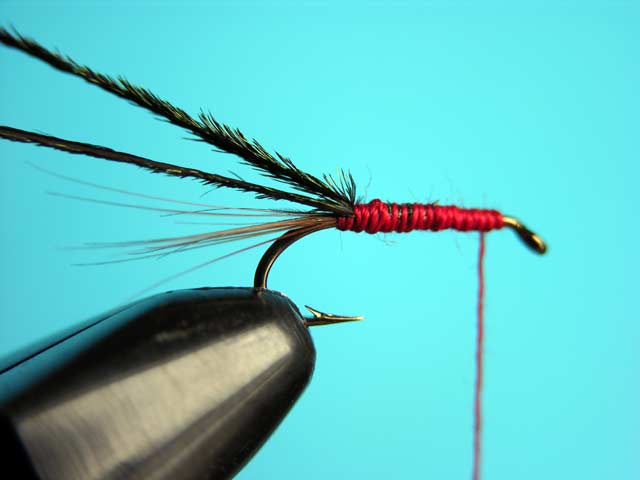
Align the tips of three or four hen feathers and get them ready to tie in. I am using three per side
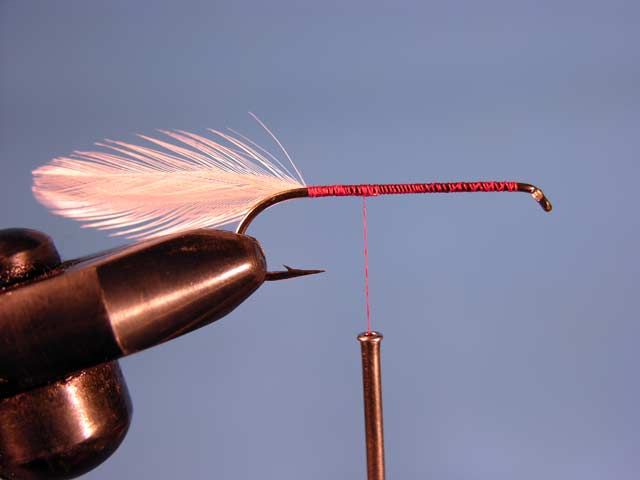


Tie in the first set of three or four on the far side of the hook. Tie them in so that the curve of the feathers is facing away from the hook.
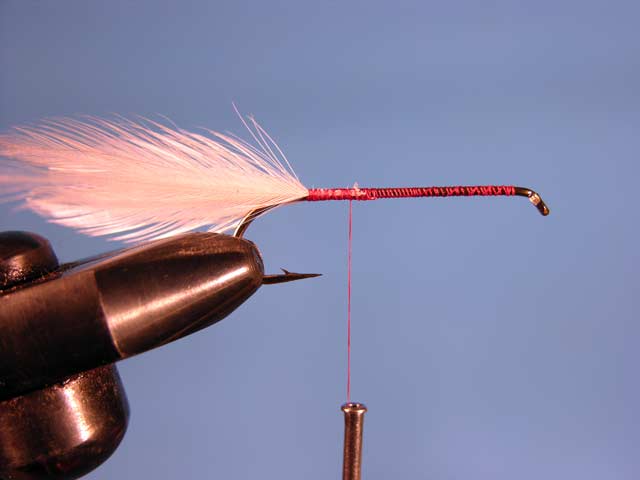


Then tie in three or four more prepared feathers on the near side. Once more with the curve away from the hook.
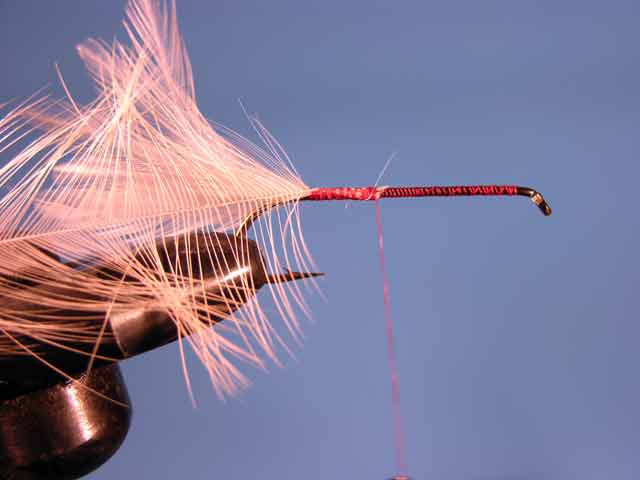


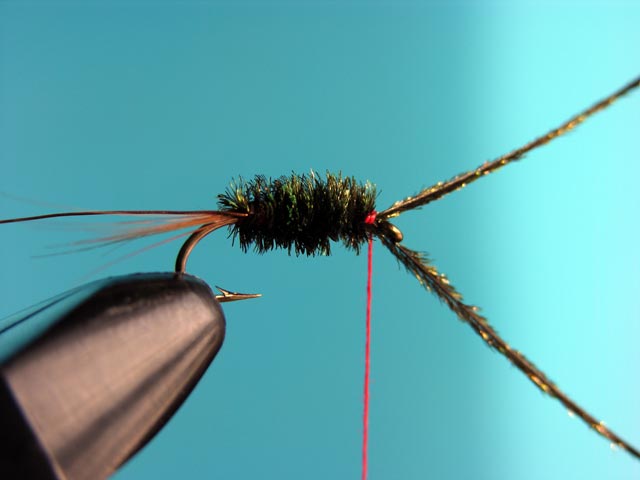
Next take another hen feather in white and tie it in by the tip. I elected to use long feathers, but you can either use a few of them or many shorter feathers. The important part is that they have soft barbels and they are pretty much the same length along the whole feather.
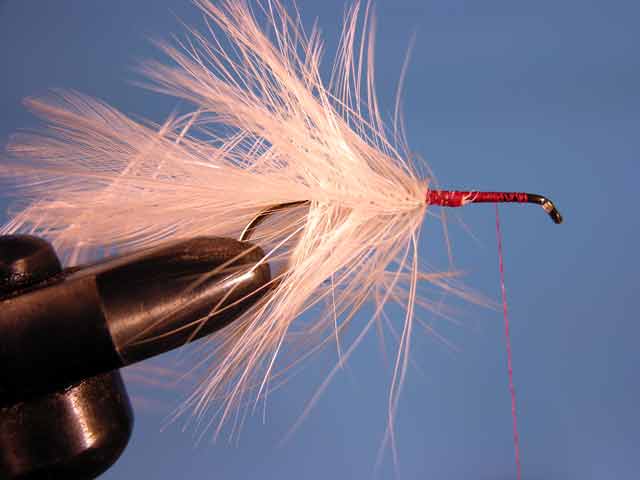


Wrap that feather forward as far as you can and tie it off. Then wrap the thread back to angle the feather fibers backwards a bit.


Tie in another feather by the tip and repeat the above process until you get to the front of the body.
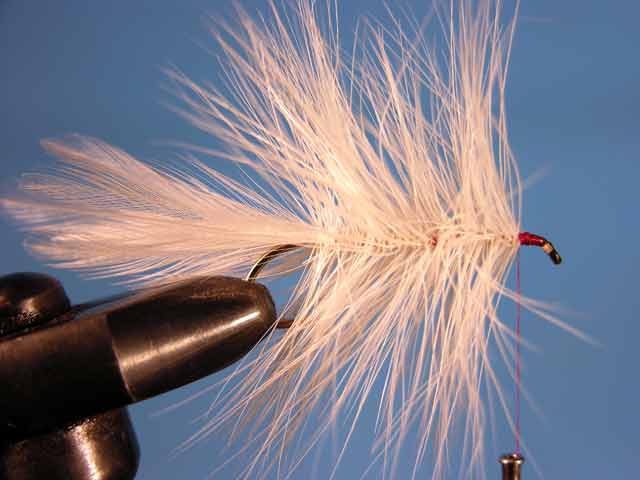


When you have gone through those steps until there is room for just a few more wraps of feather, tie off the white body feathers. I used some long feathers and only had to use three to get to this point.


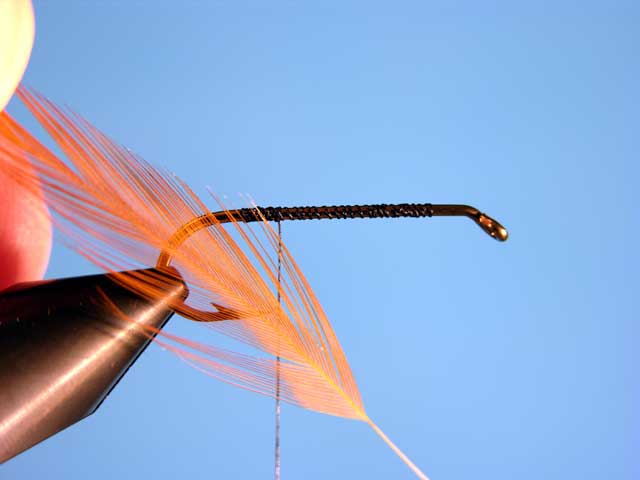
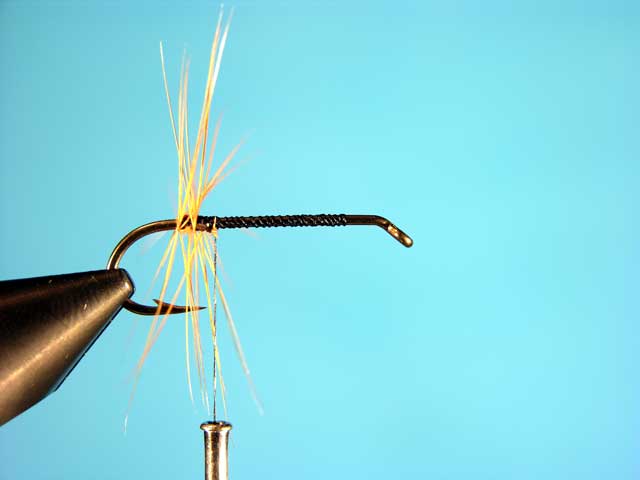
Next tie in a red hen feather by the tip and prepare to wrap it forward for two or three turns.
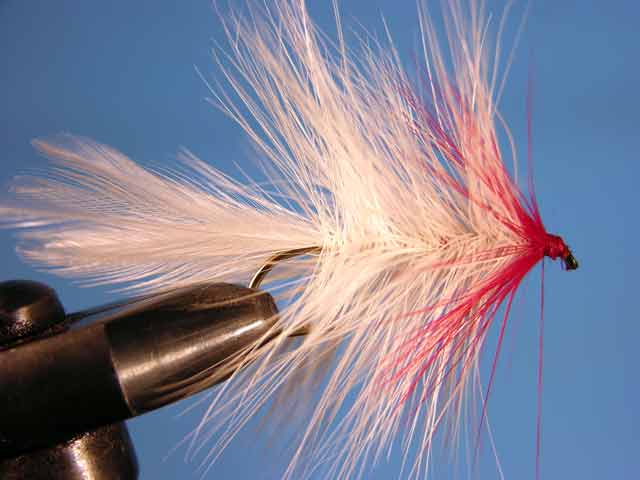


Take two to three turns with the red feather and tie it off. Then wrap back just far enough to get the red feather sloping backward just a bit.
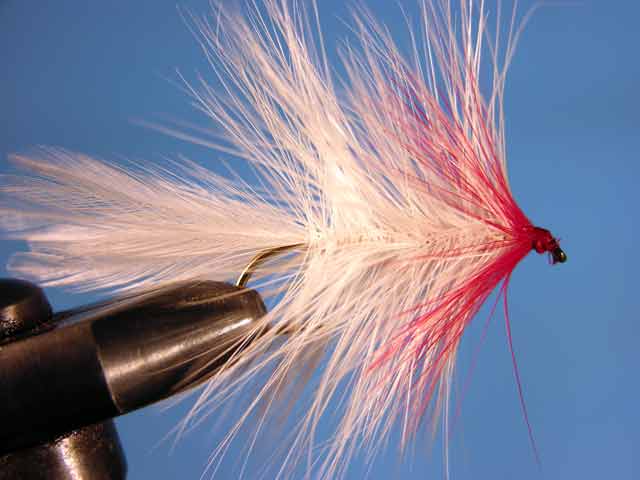


After getting a nice slope, wrap a nice head and whip finish or tie two or three half hitches. Add some head cement and it is done.


Completed Fly.
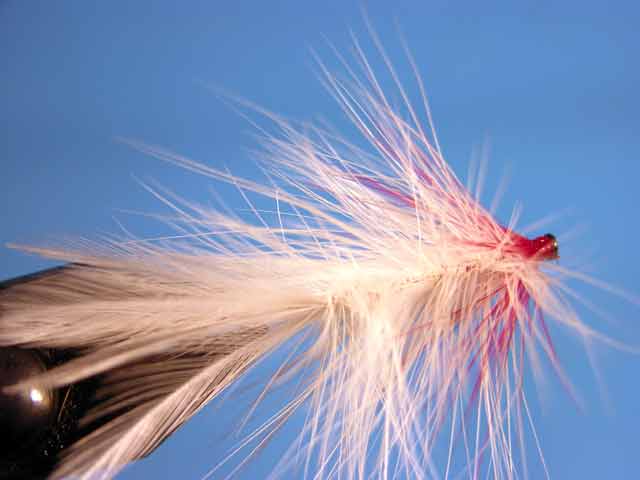


Top View.
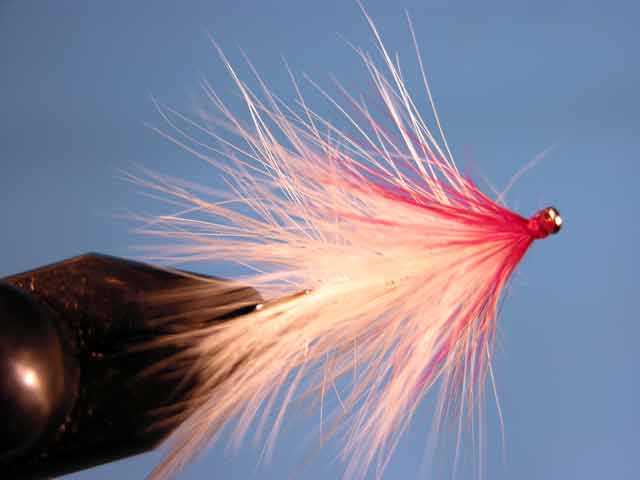


Bottom View.


It is a little tough to see in this view with the fibers from the body, but the feathers tied in for the tail create an open V shape. When this is stripped through the water the feathers become more streamlined and when it stops they spread out creating a nice swimming motion and moving a lot of water. It catches the attention of other fish quite well. Tie one up and give it a try.


Lime Trude

Sunday, February 3, 2008

Week 5 -- Jig Fly


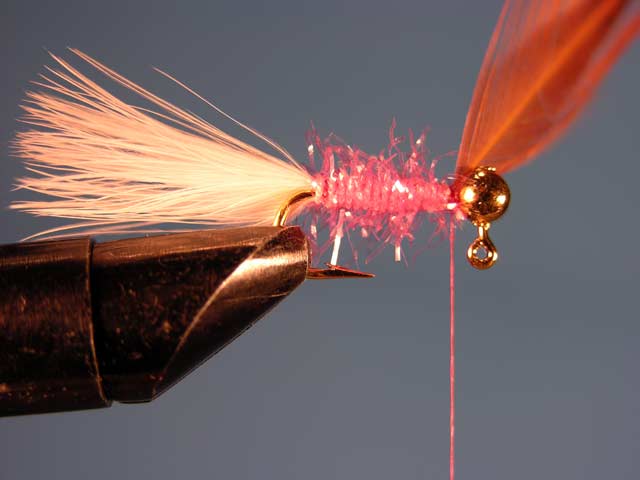
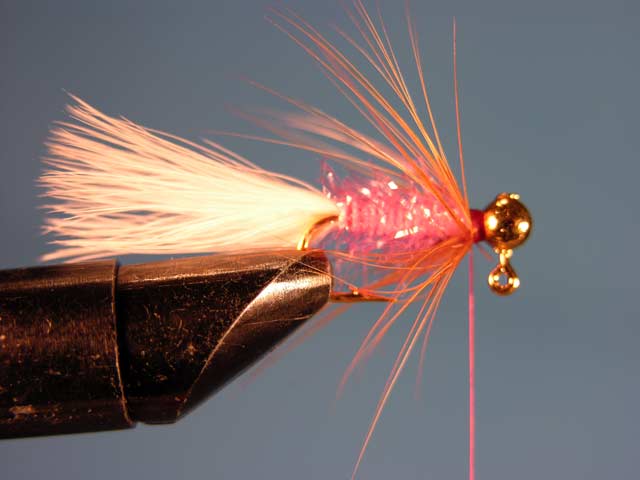
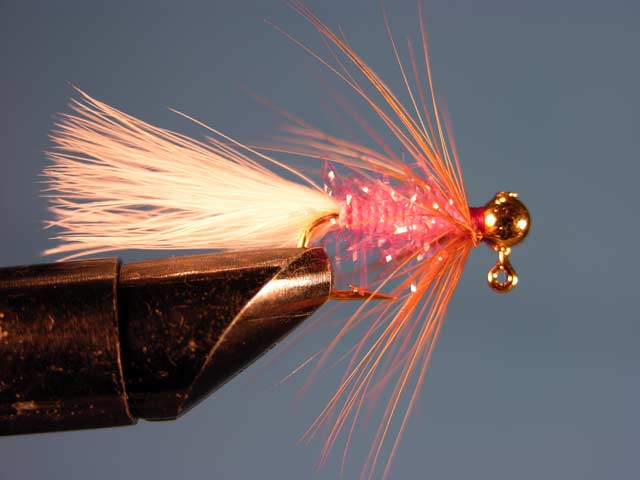
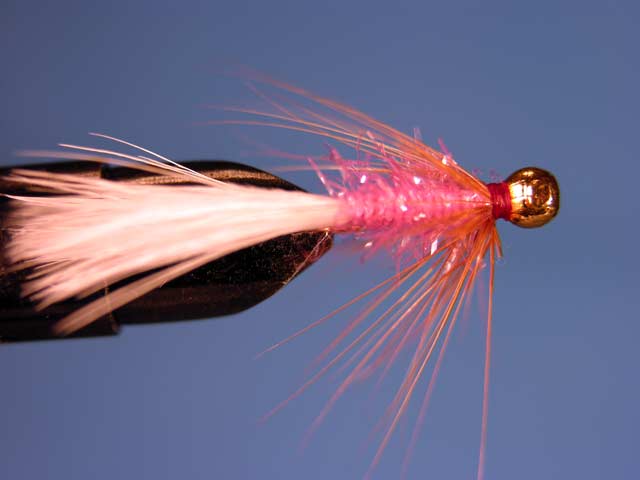
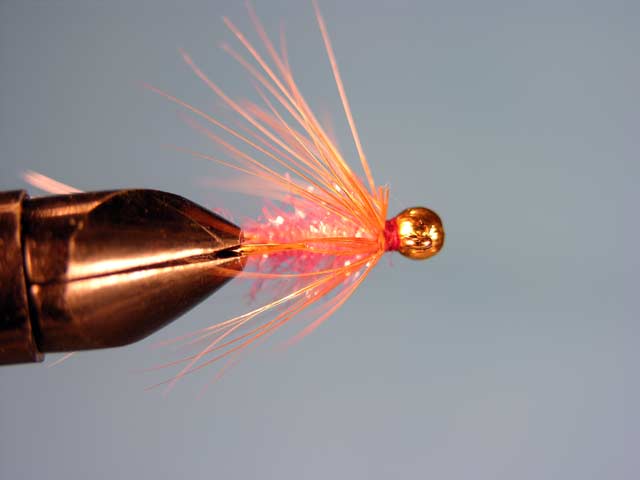
Well, even though it has been very cold and almost all of the water close by is covered by a thick layer of ice, I was able to find some open water on this last monday and actually caught some fish. One of the flies that I used is one that I patterned after a jig that a gentleman was using to great success one day while I fished close by. It had a pink body and a white tail. Not too tough, I just used the materials I had on hand and used a micro jig hook (1/80th of an ounce) so it would be easy to cast with a fly rod.


Let me know what you think.


(Click Images for a larger version.)


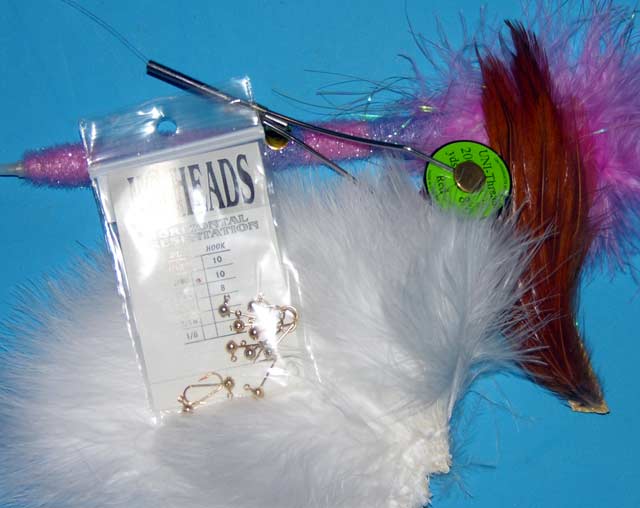
The first step is to gather the materials required for this micro jig, which are pictured above and as follows:

  • Hook:   Micro jig hook. (I selected a 1/80th oz hook for this.)

  • Thread: Red

  • Tail: White marabou

  • Body:   Pink sparkle chenille type material

  • Front Hackle: Soft brown hackle


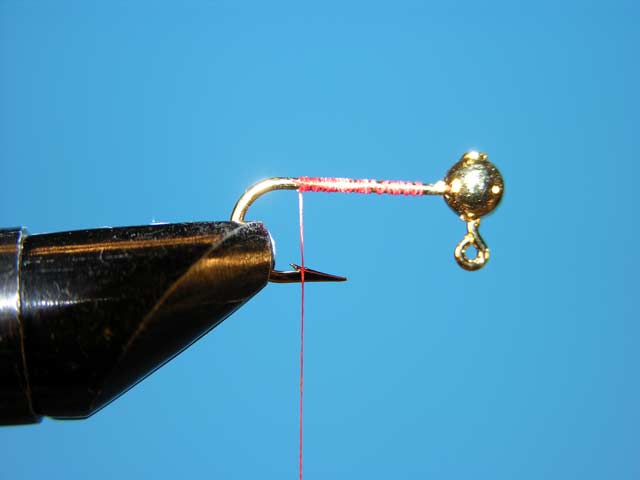
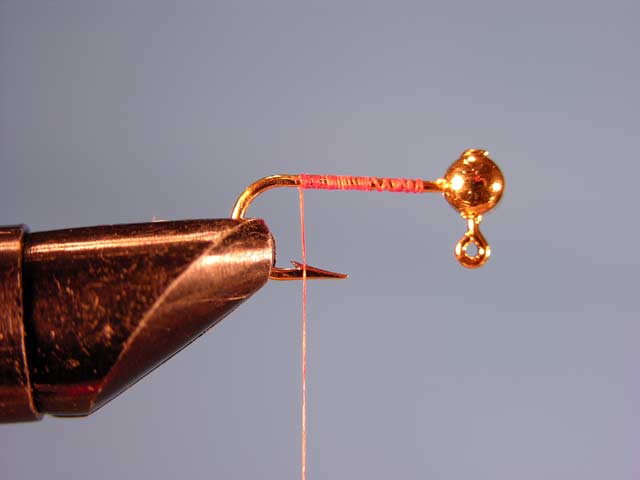
After gathering your materials you will need to mount the hook to be used in the vise and get the tying thread started on the hook.


Notice that I have stopped the thread right above the barb of the hook. This is the tie in point for the tail


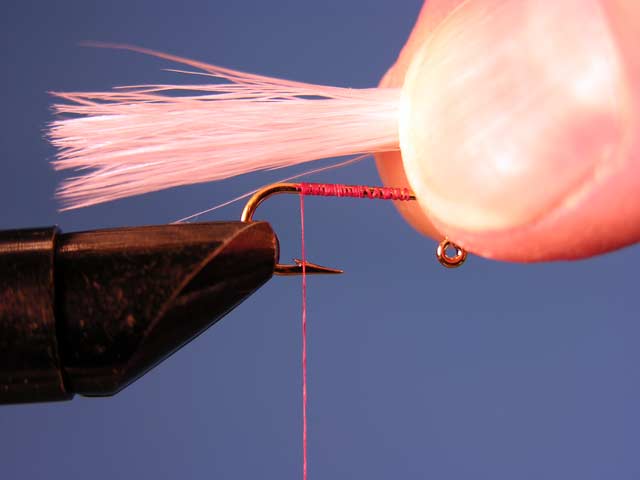
Measure the tail length so that it is approximately the same length as the hook shank.


Tie in the tail and clip off the extra material. It is good to leave some of the marabou covering the hook shank to give the body a little bulk.


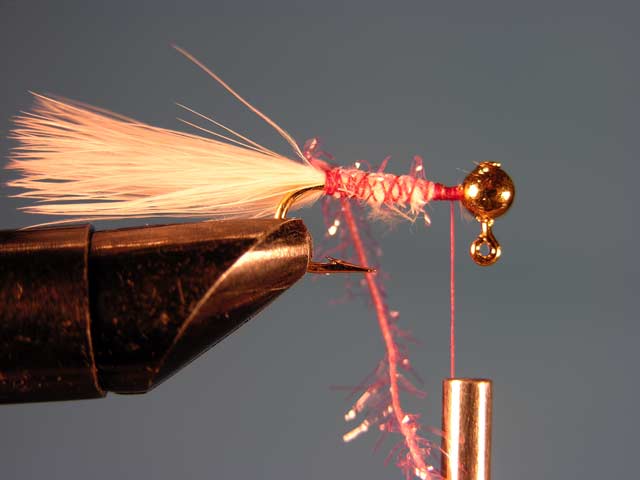
Tie in the chenille and wrap the thread up to just behind the jig head. One thing I should explain here is the body material that I am using. If you look at the materials picture, there is a pen there with this body material (as well as som purple) wrapped around it. I found this at a Scholastic Book sale a couple of years ago. When I unwind the chenille from the pen it is in great shape and ready to use. It also is very well made chenille. The center 'rope' of the chenille is woven with the sparkle bits being part of the weave, unlike some sparkle chenille I have seen where the center is just twisted string with the sparkle twisted between the fibers. This is much longer lasting.


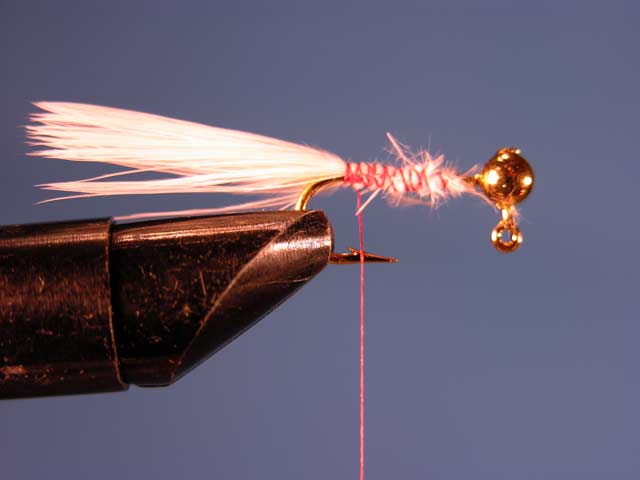
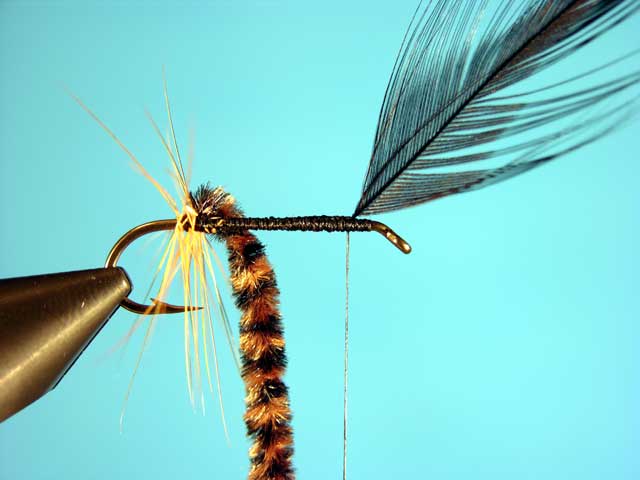
Just behind the jig head, tie in the soft brown hackle with the concave side facing up. This will help to have the hackle sweep backwards when the fly is finished. In this image you can get a better look at the chenille material.


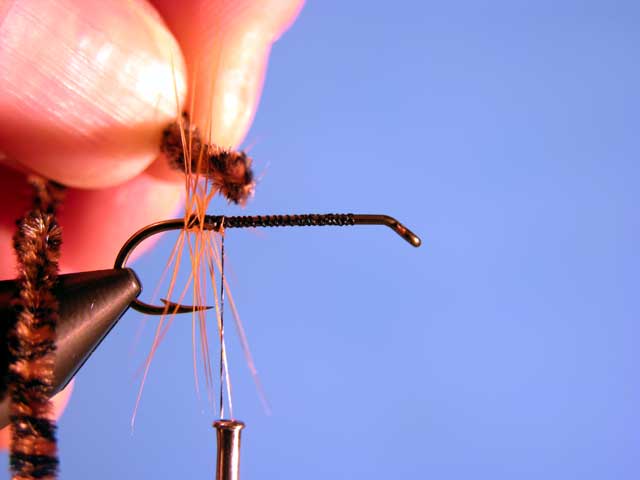
Wrap the chenille up the hook shank and tie it in just behind the jig head. Clip off the extra chenille and make a couple of extra wraps to hold it tight.


Wrap the hackle around the hook shank in two or three wraps to give a fairly thin, soft hackle that will give a lot of motion in the water as the fly moves. Tie it in and clip off the extra feather. Make a few wraps with the thread toward the back of the fly to help sweep the hackle backwards and tie off the thread with a whip finish or a couple of half hitches or however you finish your flies.


Clip off the thread and add head cement and you are finished.


Completed Fly.


Top View.


Bottom View.


Well, now I hope the temperature rises a bit again so I can go play with my little finned friends in the water. I am really hoping that some of the ice will melt off a bit in some areas so I can just go see if anything wants to play.


Lime Trude

Sunday, January 27, 2008

Week four -- Olive Fore and Aft


This week I elected to do the Olive Fore and Aft fly that I learned about on the Fly Angler's Online website in the lake fishing section. I figured that if it looked like something that a trout would eat, most likely the fish in my neighborhood would take it for food also. It is tied quite thin to sink fairly quickly without adding weight besides the hook. I hope you enjoy it and that you can also catch some fish with it.


Let me know what you think.


(Click Images for a larger version.)


The first step is to gather the materials required for the Olive Fore and Aft, which are pictured above and as follows:

  • Hook:   Wet Fly Hook. (I selected a size 8 streamer for this.)

  • Thread: Black

  • Rear Hackle: Ginger Saddle Hackle, 2 Wraps

  • Body:   Dark-Olive/Gold Chenille

  • Front Hackle: Black Saddle Hackle


After gathering your materials you will need to mount the hook to be used in the vise and get the tying thread started on the hook.


Wrap the thread to the back of the hook and prepare the hackle that you have selected for the rear of the fly.


Tie in the rear hackle at the bend of the hook with the concave side facing downward. (Shiny side up.)


Make two complete wraps of hackle at the tie-in point, tie it off, and remove the extra part of the hackle. (My wraps are a little spread apart. I did not notice this until I saw the photographs. I kinda doubt the fish will notice either.)


Prepare the chenille by stripping a little bit of material from the string that holds it together.


Tie in the chenille and advance the thread to the front of the hook. At that point tie in the front hackle after preparing it. This time with the curved side facing up, or shiny side facing down.


Wrap the chenille forward to the tie in point of the front hackle and tie it off. Also remove any extra chenille.


Make two wraps with the black hackle, tie it off, and trim the extra feather off.


To get a clean whip finish on the fly I use a small peice of straw to hold the hackle fibers back out of the way. With the straw on there, build a small head and whip finish the fly. Also a bit of head cement can be applied, if you use it, at this time.


Completed Fly.


Top View.


Bottom View.


Well, now I hope the temperature rises a bit so I can go play with my little finned friends in the water. I am really hoping that some of the ice will melt off a bit in some areas so I can just go see if anything wants to play.


Lime Trude
Monday, January 21, 2008

Week Three Fly -- Diawl Bach


Here is the Diawl Bach Fly. I was referred to an article about it over on the Global Fly Fisher site located here and it was said to be a good still water pattern. Since I mostly get to fish lakes and ponds these days I wanted to tie some up and give them a try so I figured I would do that at this point.


Let me know what you think.


(Click Images for a larger version.)


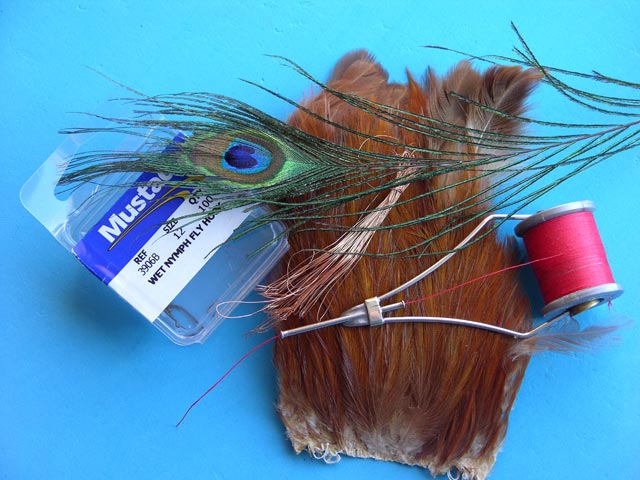
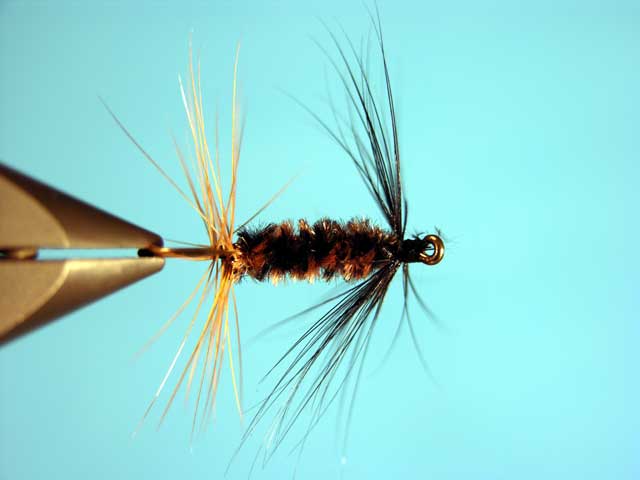
The first step is to gather the materials required for the Diawl Bach Fly, which are pictured above and as follows:

  • Hook:   Wet Fly hook. (I selected a size 12 for this.)

  • Thread: Red

  • Rib:    Copper Wire

  • Tail:   Brown Hackle Fibers

  • Body:   Peacock Herl

  • False Hackle: Brown HackleFibers


After Gathering your materials you will need to mount the hook to be used in the vise and get the tying thread started on the hook. The thread I am using is a sewing thread, so it is fairly thick for this application.


Wrap the thread to the bend of the hook and tie in a pinch of hackle fibers for the tail. Also tie in the copper wire for the ribbing at this point.


Also tie in a couple of pieces of peacock herl. For the fly to sink quickly the body should be quite thin.


Wrap the herl body forward leaving just enough room ofr the head of the fly. Tie off the herl and clip the extra tips.


Counter wrap the copper wire ribbing material forward and tie it off also.


Turn the fly over and tie in a small pinch of hackle fibers as a beard or false hackle.


Turn the fly back over, whip finish a head, clip off the thread, and apply your head cement.


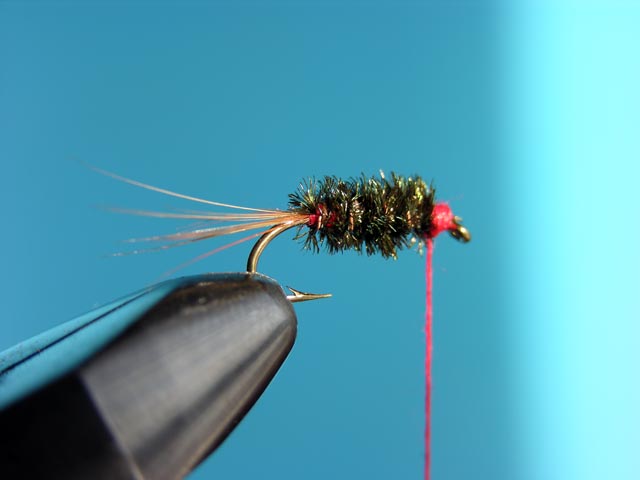
Completed Fly.


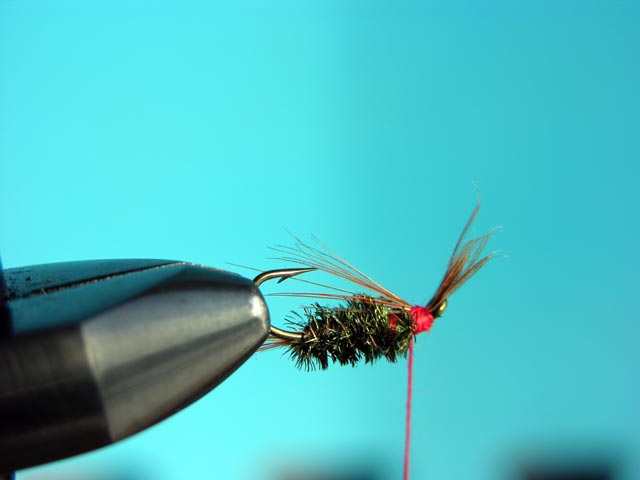
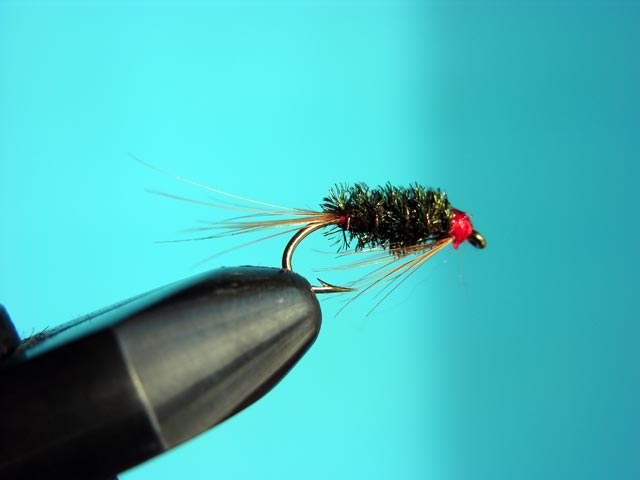
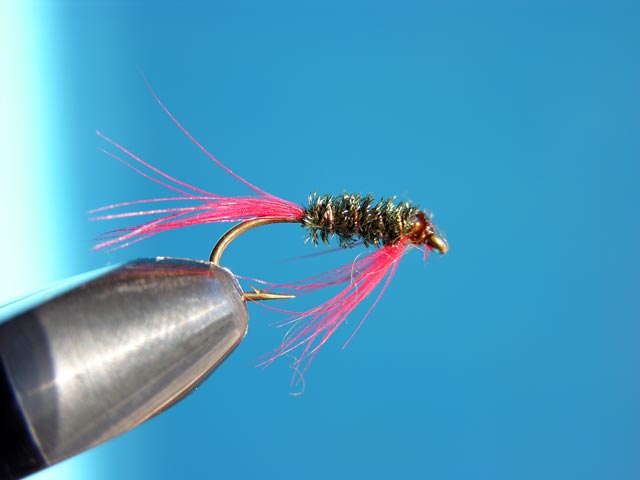
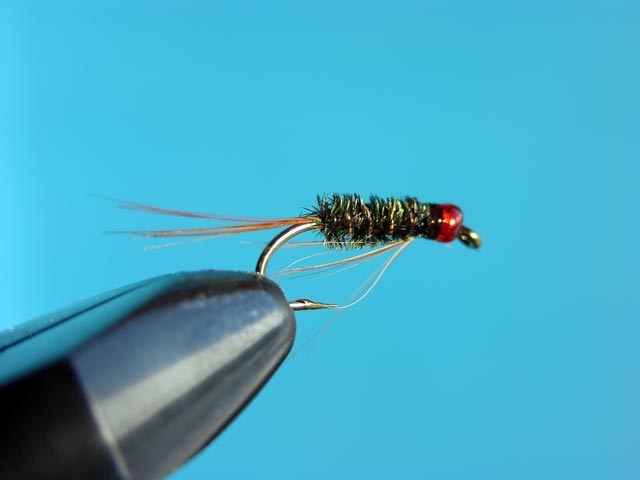
That is it for this fly. It really was a pretty simple fly to tie. Of course, I just could not leave well enough alone, so I started playing around and made a few adjustments to try once the ice is gone from my part of the country. Let me know what you think of these too.
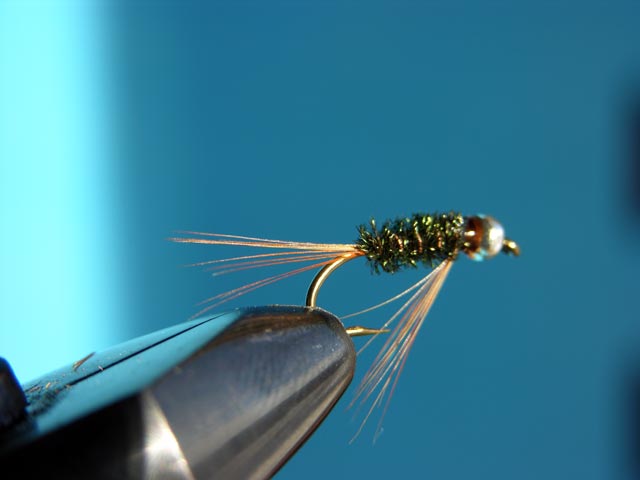


I switched back to a brown thread and added a silver seed bead to the front of this one.


Instead of using the red thread I tied a couple with red seed beads to get the same red head effect.


I also tried one with red hackle tips instead of the brown that was called for.


Well, now I hope the temperature rises a bit so I can give these a try and see if the fish here like them as well as the ones in England do.


Lime Trude